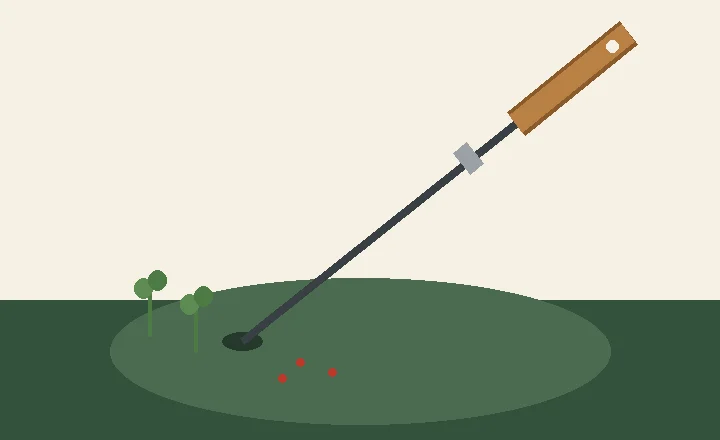
What a dibber is for
A dibber is a pointed tool for pressing holes into prepared soil. Unlike a trowel, it does not lift or carry soil; it displaces it, so the hole is clean, the seed sits at a consistent depth and the surrounding bed is left undisturbed. That makes it the right tool for sowing single seeds such as tomatoes, courgettes, sweet corn and climbing beans, for setting out transplants, for planting bulbs, and for marking a straight line before you sow a row.
It is not a digging tool. Do not use it to break ground, lift crops or pry stones, and be careful in stony soil where a thin shaft can snap if you force it.
Choose the right dibber
Simple pointed sticks, in wood or steel, are the basic form. A dibber with a depth ring or collar limits how far the point travels, which is what makes the depth repeatable from hole to hole. A bulb or shaped handle gives a firmer grip and a place to hang the tool in storage.
Match the point to the job. A slim point enters seed trays, modules and firm beds with less disturbance and suits small seeds. A thicker, longer dibber opens a hole wide enough for a transplant root ball or a bulb. Steel points hold their shape in firm or slightly stony ground; wooden dibbers are light and inexpensive but the point wears down and blunts over time.
If you sow at one depth most of the season, choose a depth ring set to that depth. A ring set too deep buries small seeds, and a bent ring gives the wrong depth every time, so check it before you start.
Make consistent holes
Press the dibber straight down with a short, even stroke. Do not twist or rock it: twisting widens the hole and collapses the sides, which is exactly what the tool is meant to avoid. Keep the same wrist motion and angle from hole to hole, and the depth stays consistent even without a ring.
As a working rule, sow most seeds at roughly two to three times their own diameter, and check the seed packet for the depth a particular crop wants. A depth ring turns that rule into a repeatable action. For a row, mark the line first with a stick or the edge of the dibber, then work along it at even intervals.
Firm the sides of the hole gently with a finger or the dibber shaft so the seed sits in good contact with the soil, then cover it and water according to the crop and conditions. In dry weather, water the bed before sowing or water the hole after, so the seed has moisture to germinate.
Sow seeds and set out transplants
For a single seed, make one hole, drop in one seed, cover, firm and water. For transplants, the dibber sets the depth but a root ball often needs a wider hole; open it with a hand trowel if needed and plant the seedling at the same depth it grew in its pot, firming the soil around the roots. For bulbs, point the base down and set it at the depth the variety calls for, commonly a couple of times the bulb's height, then cover and firm.
The dibber keeps depth even, but spacing is still on you. Measure or mark the interval the crop needs and keep to it, because a consistent depth does not fix a crowded row.
Dibber or trowel?
Use each for what it does well. The dibber is faster for sowing, disturbs less soil and holds depth; the trowel opens wider holes, lifts and moves soil, and handles root balls and stony ground. A common pairing is to dibber the sowing and use the trowel for transplanting and any hole too wide for the point.
Clean and maintain the dibber
Remove soil before it hardens and dry the tool before storage. Keep the point sharp: a blunt point pushes soil aside and collapses the hole instead of cutting a clean one, so touch a steel point up with a file. Check the depth ring is straight, and retire a wooden dibber once the point has worn down to a stub.
Clean the tool between different jobs and disinfect it when moving from diseased material to healthy plants, as with any hand tool. Store it dry, ideally hung from its hole, and do not use it as a lever or to pry stones.