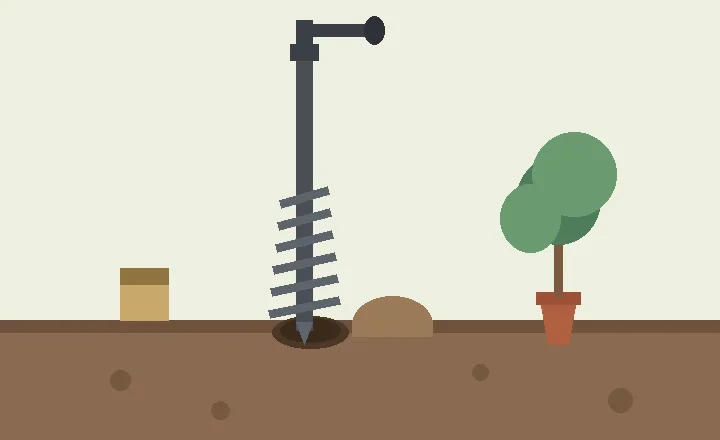
What a garden auger is for
A garden auger is a tool for boring holes in the ground. The working part is a bit with a spiral flange: as it turns, the spiral lifts loosened soil out of the hole, so the auger both cuts and clears in one motion. The three common forms are a manual hand auger with a crank, an auger bit that fits a corded or cordless drill, and a dedicated power auger with its own motor. A drill-attached bit is the most versatile for garden work; a hand auger is the lightest option for occasional use; a power auger earns its place when you are setting many fence posts or working hard ground.
The auger is a boring tool, not a digging tool. It is the right choice for planting holes for trees and shrubs, holes for fence posts and stakes, drainage holes, and taking a soil sample from depth. It is the wrong choice for breaking ground, lifting crops, cutting roots or moving soil, and it will not open a wide hole: the diameter of the hole is the diameter of the bit.
Choose the right auger and bit
Match the bit diameter to the job. Small bits, around 25 to 50 mm, suit bulbs, plugs and soil sampling, but they are too narrow for most shrub and tree root balls. A tree or shrub planting hole should be no deeper than the roots and ideally about three times their diameter, which usually means widening an augered pilot hole with a spade. Larger bits suit posts and other narrow holes, provided the tool and ground are appropriate.
Check the bit before you buy or use it. A sharp, undamaged cutting edge bites cleanly; a bent or worn spiral drags, binds and can snap under load. For a drill, the bit must fit the chuck or quick-release system securely, and the drill must be strong enough for the bit size — a small domestic drill will struggle with a 100 mm bit in firm ground. For a hand auger, look for a bit that locks firmly to the shaft and a crank that is comfortable to turn.
Check the ground before you drill
The auger is fast, which is also its danger: it can reach buried services in seconds. Before any drilling, obtain and review available service plans, use suitable locating equipment where services may be present, mark their positions and follow the Health and Safety Executive's safe-digging guidance. Plans and locators indicate a service's likely route rather than its exact depth, so confirm the position by safe excavation and treat the marked area as a no-auger zone. Never assume a shallow hole, lawn or flower bed is clear.
Also check for tree roots, stones and buried debris. An auger that hits a large root or stone can kick back violently or shear the bit, so probe the spot with a digging fork or spade first when the ground is unknown, and stop immediately if the bit binds.
Drill a clean planting hole
Work when the soil is moist but not waterlogged: dry, hard ground jams the bit and wet, sticky ground smears and clogs the spiral. Mark the spot, then start the bit at a slight angle with a few turns to seat it, and bring it to vertical before applying full pressure. Turn steadily and push down with your body weight rather than your arms, as in any heavy manual handling task; keep both hands on the tool and clear of the bit.
Withdraw the auger every 10 to 15 cm of depth and clear the soil from the spiral before continuing. This keeps the hole clean, prevents the bit from binding and makes the job far less tiring. Drill to the depth the plant or post needs, then lift the bit straight out. The hole will be a smooth cylinder, which is not ideal for a tree: roughen the sides with a spade or fork so roots can reach into the surrounding soil rather than circling the hole wall.
Plant the tree or set the post
For a tree or shrub, identify the first root flare and set it level with the finished soil surface; scrape away excess potting mix above the flare if necessary rather than copying the container's soil level blindly. Backfill with the soil removed from the hole, firm gently and water in. Do not line the hole with compost or add fertiliser to the backfill. For a fence post, follow the post and system manufacturer's dimensions and footing instructions, adjusted for the site's soil, drainage, wind load and frost conditions.
For soil sampling, the auger is the standard tool: bore to the depth you need, usually around 20 to 25 cm for a garden soil test, and take the core from the spiral for the sample.
Auger or spade?
Use each for what it does well. The auger is far faster for a deep, narrow hole and leaves the surrounding ground undisturbed, but it only makes a round hole of its own diameter and cannot cut roots or work stony ground. A garden spade makes a hole of any shape and depth, cuts roots and is safe in unknown ground, but a deep planting hole is slow, back-breaking work. A common pairing is to auger the hole and use the spade to widen the base, roughen the sides and take out anything the bit cannot cut.
Work safely
Treat the auger as a power tool. Wear eye protection, because a bit that hits a stone can throw debris, and use gloves and sturdy footwear. Keep hands, feet and bystanders clear of the bit, never rest the tool on the ground with the bit engaged, and switch the drill off or remove the bit before clearing soil by hand. If the bit binds, stop turning and ease it out rather than forcing it, and do not use an extension to reach overhead or awkward positions. Take regular breaks on repetitive turning, and if the ground is very hard, stony or frozen, use a smaller bit or switch to a spade rather than forcing the machine.
Clean and maintain the auger
Clear soil from the spiral and cutting edge before it hardens, wash persistent dirt away and dry the bit before storage. Check the cutting edge for nicks and the spiral for bends; a bent auger should be retired or professionally straightened, because a weakened bit can snap under load. Touch a hardened steel edge up with a file if it has gone dull, keep the shaft and crank joints clean and oiled, and store the bit under cover with a light coating of oil on non-stainless steel before long storage.
Sources and review basis
- Avoiding danger from underground services — Health and Safety Executive
- Planting trees and shrubs — Royal Horticultural Society
- Health and Safety Executive, manual handling technique — basis for the posture and effort guidance in the drilling and safety sections.
- Penn State Extension, using the right tool is self-care — basis for matching the tool to the task and the auger-versus-spade comparison.
Buried-service checks follow HSE guidance. Planting-hole dimensions and root-flare placement follow RHS guidance; post-hole dimensions vary with the post, system, loading and ground, so the manufacturer's instructions and site design control. This page was reviewed against those sources and the site's tool-reference conventions in August 2026.